Navigation Bar (NavBar)

Free Users only have access to the search page. Premium users can access Search, Dashboard and Folders.
The top right section of the NavBar contains links to report a bug, submit suggestions/improvements, customer support, tutorial and sign-in/sign-up.
Getting Started
The Search screen is capable of executing simple and complex queries. We have designed and developed our search capabilities to specifically search Federal Opportunities.
In the next section, you will learn how to use the Search (GovSearch) page.
Search Panel
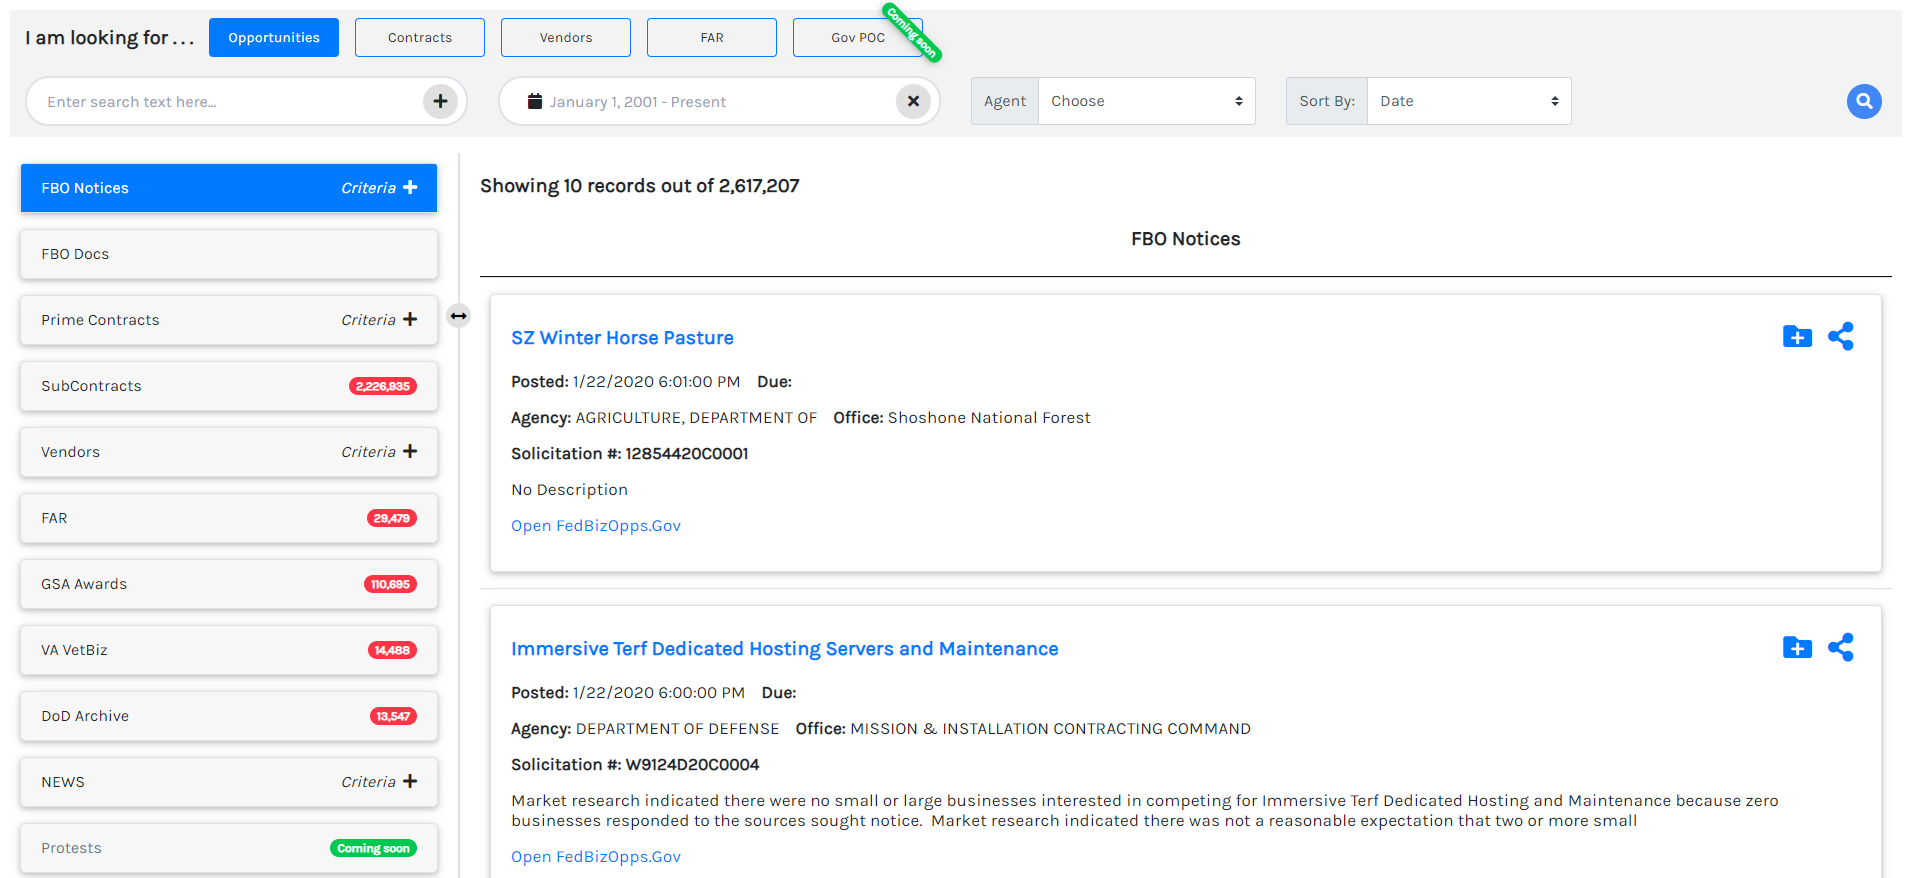
This is the main search panel where the user will spend most of their time to search and identify opportunities, contracts, and vendor information from our database. It is initially filtered to recently posted opportunities.
Search Setting

When using the search bar, users can filter result based on certain settings. These includes:
-
Opportunities: Opens with the most recently posted opportunities on FBO at the top in search results followed by FBO documents.
-
Contracts: Opens Prime Contracts at the top followed by Sub-Contracts and Vendors respectively.
-
Vendors: Allows users to search vendor profiles based on company name, socioeconomic status, NAICS code, PSC code, business type, state, country, etc. Opens vendors at the top followed by prime contracts and sub-contracts.
-
FAR: Allows the users to search all FAR references and opens FAR at the top.
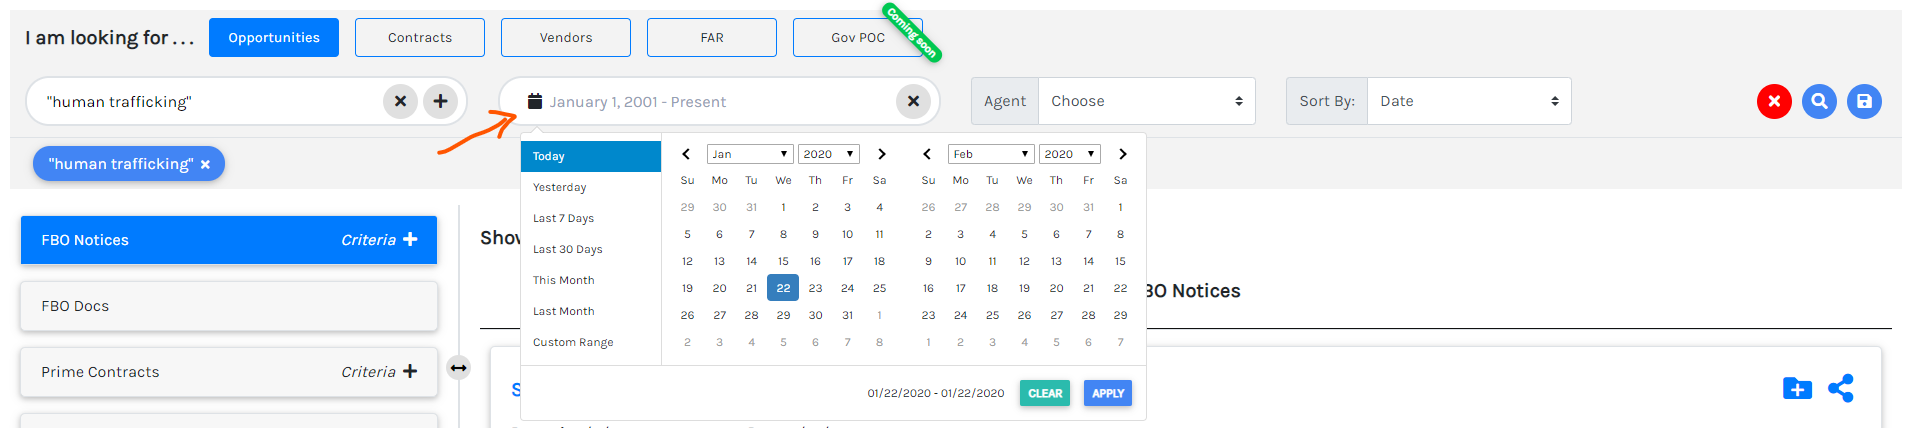
Below the search bar, there are textbox, calendar pickup control, "Agent" dropdown and the "Sort By" dropdown to sort results by date (default), relevance, ascending order (A-Z) and descending order (Z-A).
Keyword Search
-
Enter the keyword you are searching in the blank text box on the left. The keyword field is capable of searching several areas such as opportunity title, agency, solicitation number, keywords within the solicitation description, vendor's name, keywords within in contract description, location, and so on.
Users can also run an advanced keyword search like exact match, Boolean (OR, AND), wildcard and grouping. Refer to Advanced Keyword Search.
In addition to keywords, users can apply filters to various datasets to narrow the search results. Refer to Applying Dataset Filters.

-
Click the plus () icon located on the right side of the textbox or press enter key to add additional-criteria to your search query. As you click the icon or press enter key, you will see the same keyword bubble below.
To remove the keyword bubble, click the icon next to the bubble text. To remove everything or Reset search criteria, click the button on the right.

-
After you add search criteria to the text bubble, you must click the icon at the top right to apply the filters. Each time a change is made to the search criteria, click the icon to refresh/update the search results.
-
Search Results
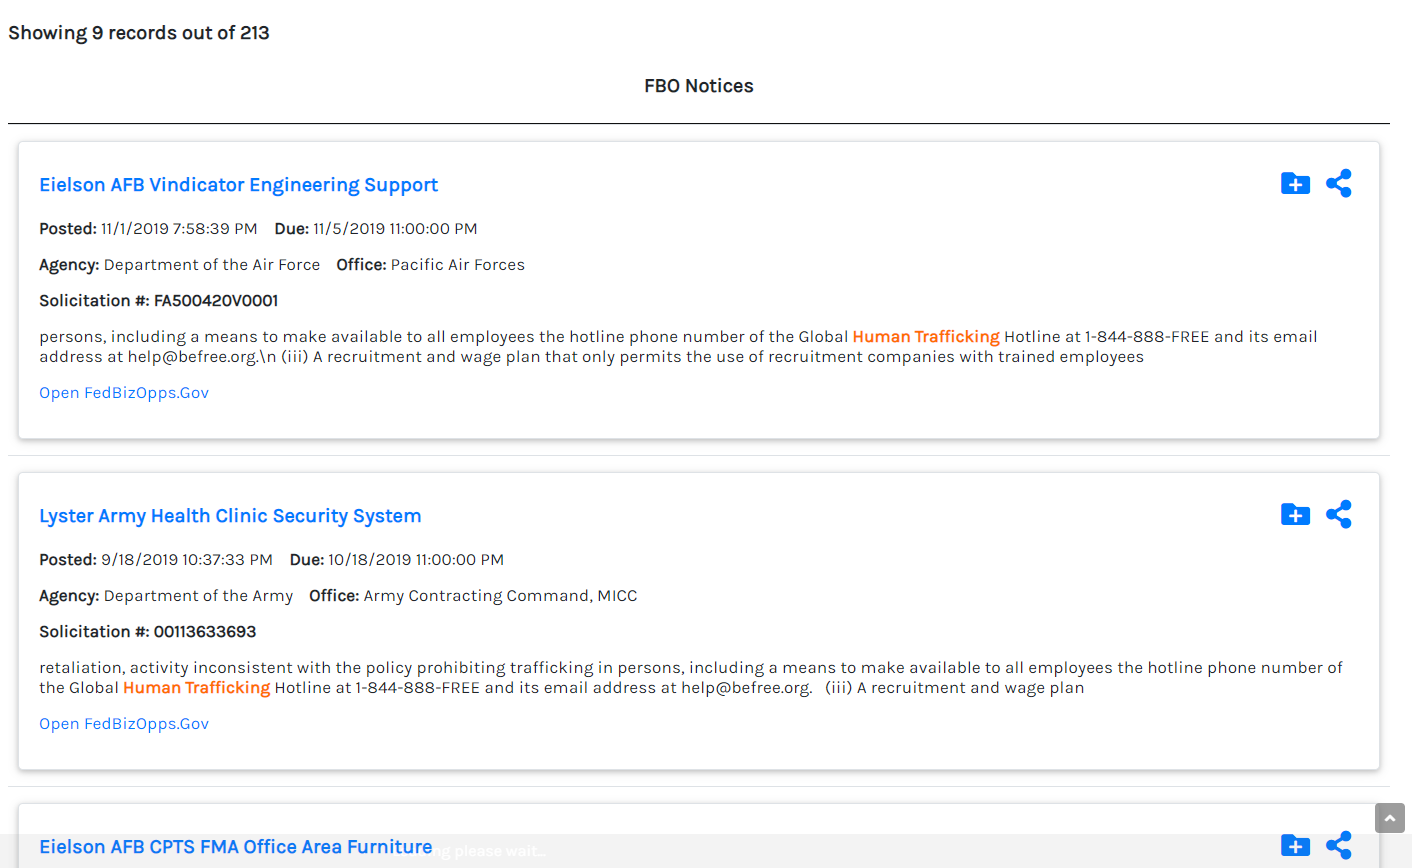
The Search Results Panel contains a list of the the matching results based on the user's keywords and applied filters.

After running the search, the list of relevant hits will be provided. Anything with a light-blue color is a clickable link (based on user subscription). For example:
-
Clicking on the card title (Eielson AFB Vindicator Engineering Support) opens the Opportunity Details page.
-
Clicking on Open FedBizOpps.Gov opens the actual FedBizOpps site with the opportunity details.
-
Clicking on adds the notice/opportunity to the Folders.
-
Clicking on lets you share the notice.
Note: This feature availability depends upon your subscription.
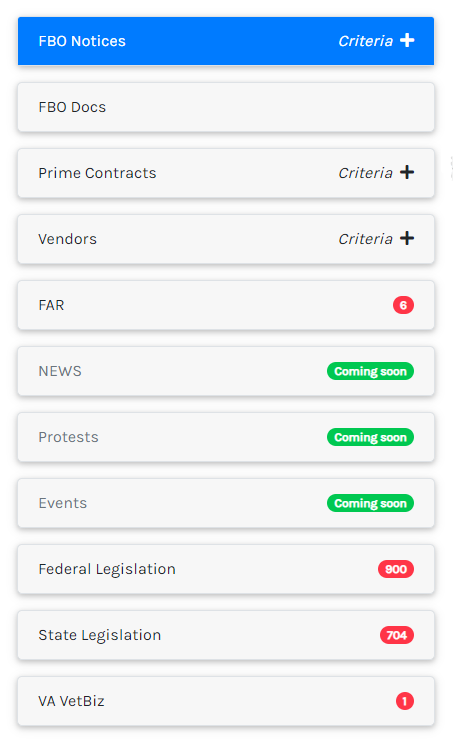
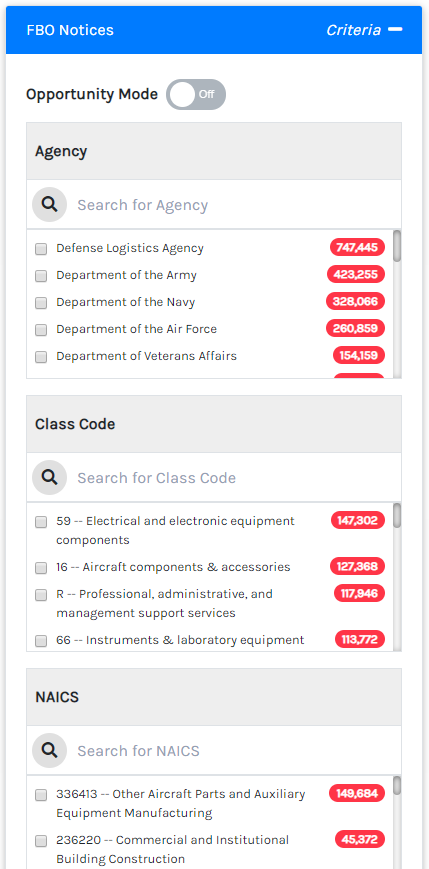
Users can narrow search results by clicking the Criteria to expand the filtering options for applicable datasets.
-
-
Applying Dataset Filters: You can narrow the search result using a filter or drill-down options within the Criteria checklist. Simply click the checkbox corresponding to the appropriate item to narrow your search results. You can also do the type-ahead search for the available picklist items.
Note: If you make a selection from the picklist, make sure to click the button to see updated results.
-
Sorting Result: To sort results, select one of the available options from "Sort By" located on the right side of Search Setting. By default, everything is sorted by date.

-
Applying Date Filter: You can narrow your search results by setting the date range and selecting the appropriate date or date range from the calendar ( ) icon located below the keyword textbox. Results are auto-updated in real-time based on date range selection.
-
Opportunity Mode: Opportunity Mode only displays opportunities that have a future response date.

Advanced Keyword Search
When using the Advanced Keyword Search there are guidelines for an array of search queries like specific phrases or wording. Below are helpful guidelines for the GovSearch's advanced keyword search.
-
The exact phrase ("search term"): To do an exact-match search, write your search term or query inside the double quote.
Example: To search for human trafficking as a phrase rather than two different terms, use "human trafficking".
-
OR: Search for X or Y. This will return results related to X or Y, or both. Note: the pipe (|) operator can also be used in place of “OR”.
Examples: jobs OR gates / jobs | gates
-
AND: Search for X and Y. This will return only results related to both X and Y.
Example: jobs AND gets
-
+"search term": Force an exact-match search on a single word or phrase.
Example: +“1111”
-
Wildcards (*): It can be used to run on individual terms, using ? to replace a single character and * to replace zero or more characters.
Example: qu?ck bro*
Note: It is not an ideal way to search as it uses an enormous amount of memory and performs very badly. Allowing a wildcard at the beginning of a word (eg “*ing”) is particularly heavy, because all terms in the index need to be examined, just in case they match.
-
Boolean Operator: By default, all terms are optional, as long as one term matches. A search for foo bar baz will find any document that contains one or more of foo or bar or baz. The preferred operators are + (this term must be present) and - (this term must not be present). All other terms are optional.
For example, this query:
quick brown +fox -news
states that:
-
fox must be present
-
news must not be present
-
quick and brown are optional - their presence increases the relevance
The familiar operators AND, OR and NOT are supported. However, the effects of these operators can be more complicated than is obvious at first glance. NOT takes precedence over AND, which takes precedence over OR. While the + and - only affect the term to the right of the operator, AND and OR can affect the terms to the left and right.
-
-
Grouping: Multiple terms or clauses can be grouped together with parentheses, to form sub-queries.
Example: (quick OR brown) and fox
Advertisement/Notice Banner
Premium members have the ability to search without any ads allowing users to surf without any distractions.

Create a Search Agent
You can create an unlimited number of search agent with your premium account. Creating a search agent is as simple as clicking the button. You can create by:
-
Entering the keyword or selecting the search criteria as you do to search specific result.
-
Click on the icon button next to the icon to save those queries as your agent. "Create Search Agent" modal form pops up.
-
Enter the agent name on the text-box and select the notification frequency from the dropdown. Notification frequency sets how often you get notified about the latest matching documents.
-
Click on the button to create a search agent. You will see the matching results on your screen.
Note: While creating a search agent, make sure you are on the right data-source or tab (Opportunities, FBO Docs, Contracts, Vendors, FAR, etc.). Based upon the active data-source, your agent is set up with that data-source. You can update/delete your search agent anytime.

Update a Search Agent
-
Select the agent you want to update from the Agent dropdown.
-
Make changes to the query and source.
-
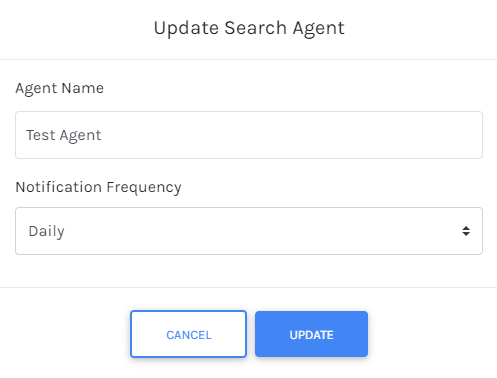
Click on the icon to update those queries. "Update Search Agent" modal form pops up.
-
You can change the agent name on the text-box and the notification frequency from the dropdown if you want to change them.
-
Click on the button to update a search agent. You will see the success notification at the bottom of your screen.
What is Search Agent?
Think of a Search Agent as an assistant, that will constantly search for the latest documents based on your predefined search query. You set it once and it will do the job forever. And the best part is, it will send you the email notification to your inbox with the latest documents matching your query so that you can focus on winning.
Overview

When you open the Search Agents page, you see the table listing all the search agents, their data source, notification frequency, and some action buttons to manage them. From the Search Agents screen, you can:
-
Search with your agent
-
Update search agent
-
Delete search agent
Quick Search
-
Click on the icon to do a quick search. It will take to the Search page and begins the search with the search agent selected.
Update Search Agent
-
Click on the icon to update the search agent.
-
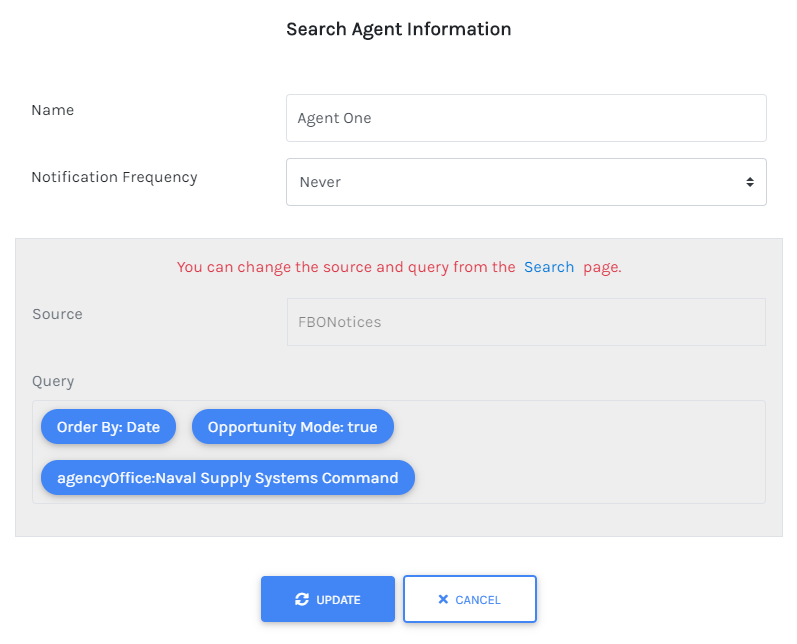
An update modal form pops up where you can change the agent name and notification frequency. Notification frequency sets how often you get notified about the latest matching documents.
You cannot change the source and query from here. To change them, click on the "Search" link and it will open the Search page with that agent selected. To learn more about how to update the search agent's source and query, refer to the Search tutorial.
-
Click on the button to finish the update.
Delete Search Agent
-
Click on the icon to delete the search agent.
-
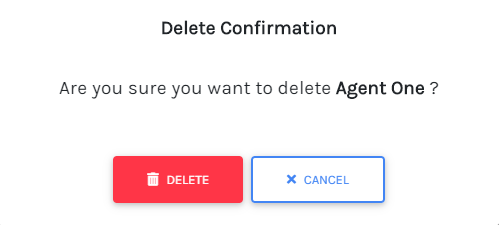
A confirmation modal pops up. Click on the button to confirm delete and your search agent will be deleted.
What is Folder?
Think of a Folder as a custom pipeline, where you can save any documents on our site (FBO Notices, Contracts, Vendor, Spending, FAR, etc.). From the Folder screen, you can manage your all folders as well as the saved documents. You can create, update, export or delete folders. You can change the status of the saved documents within the folder just by drag and drop. Also, if you have any search agents attached to the folders then you can see the search results on the left of your custom pipeline.
In the next section, you will learn how to use the Folders page.
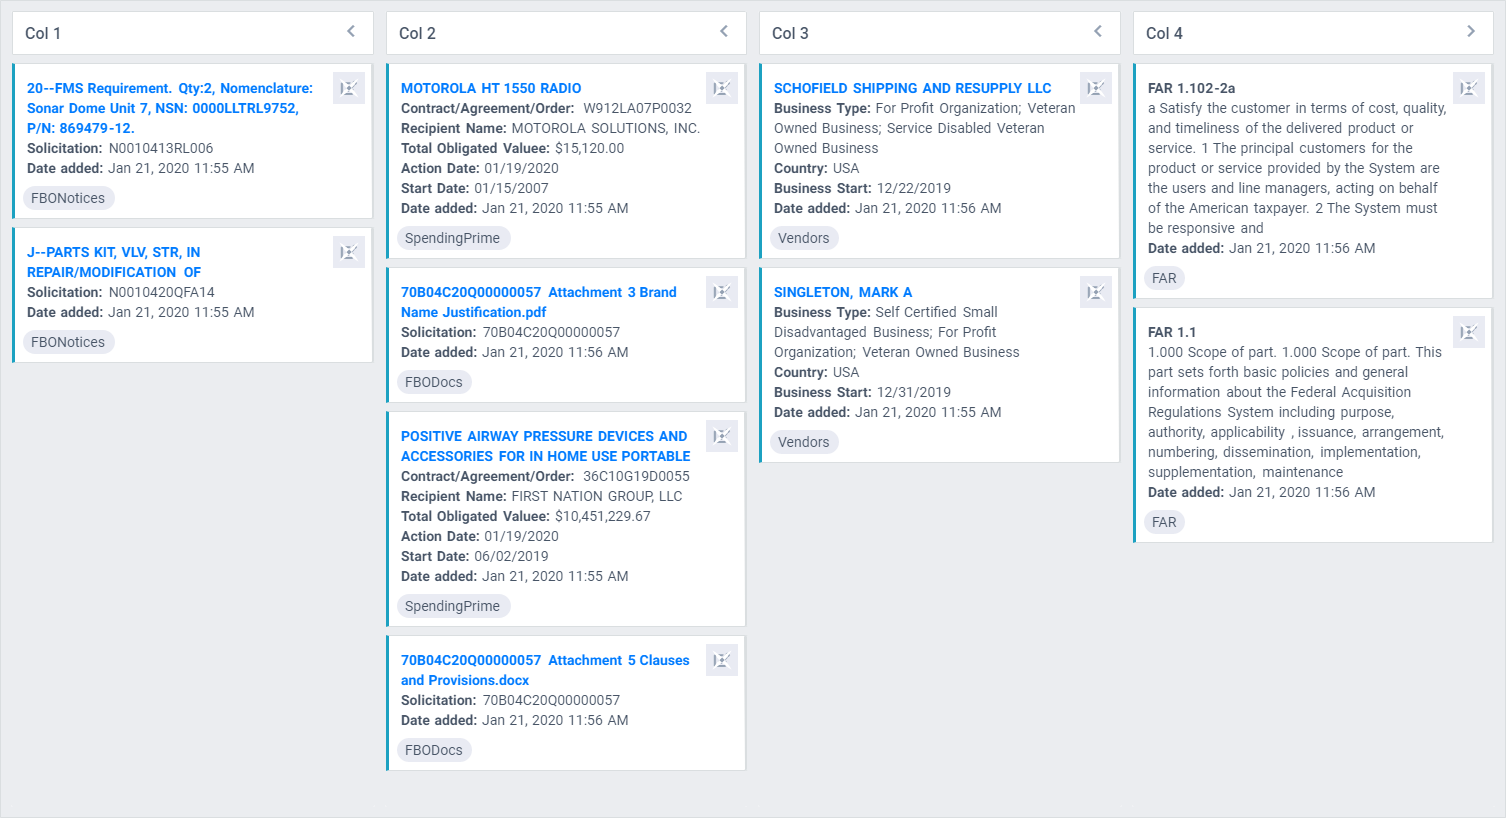
Overview
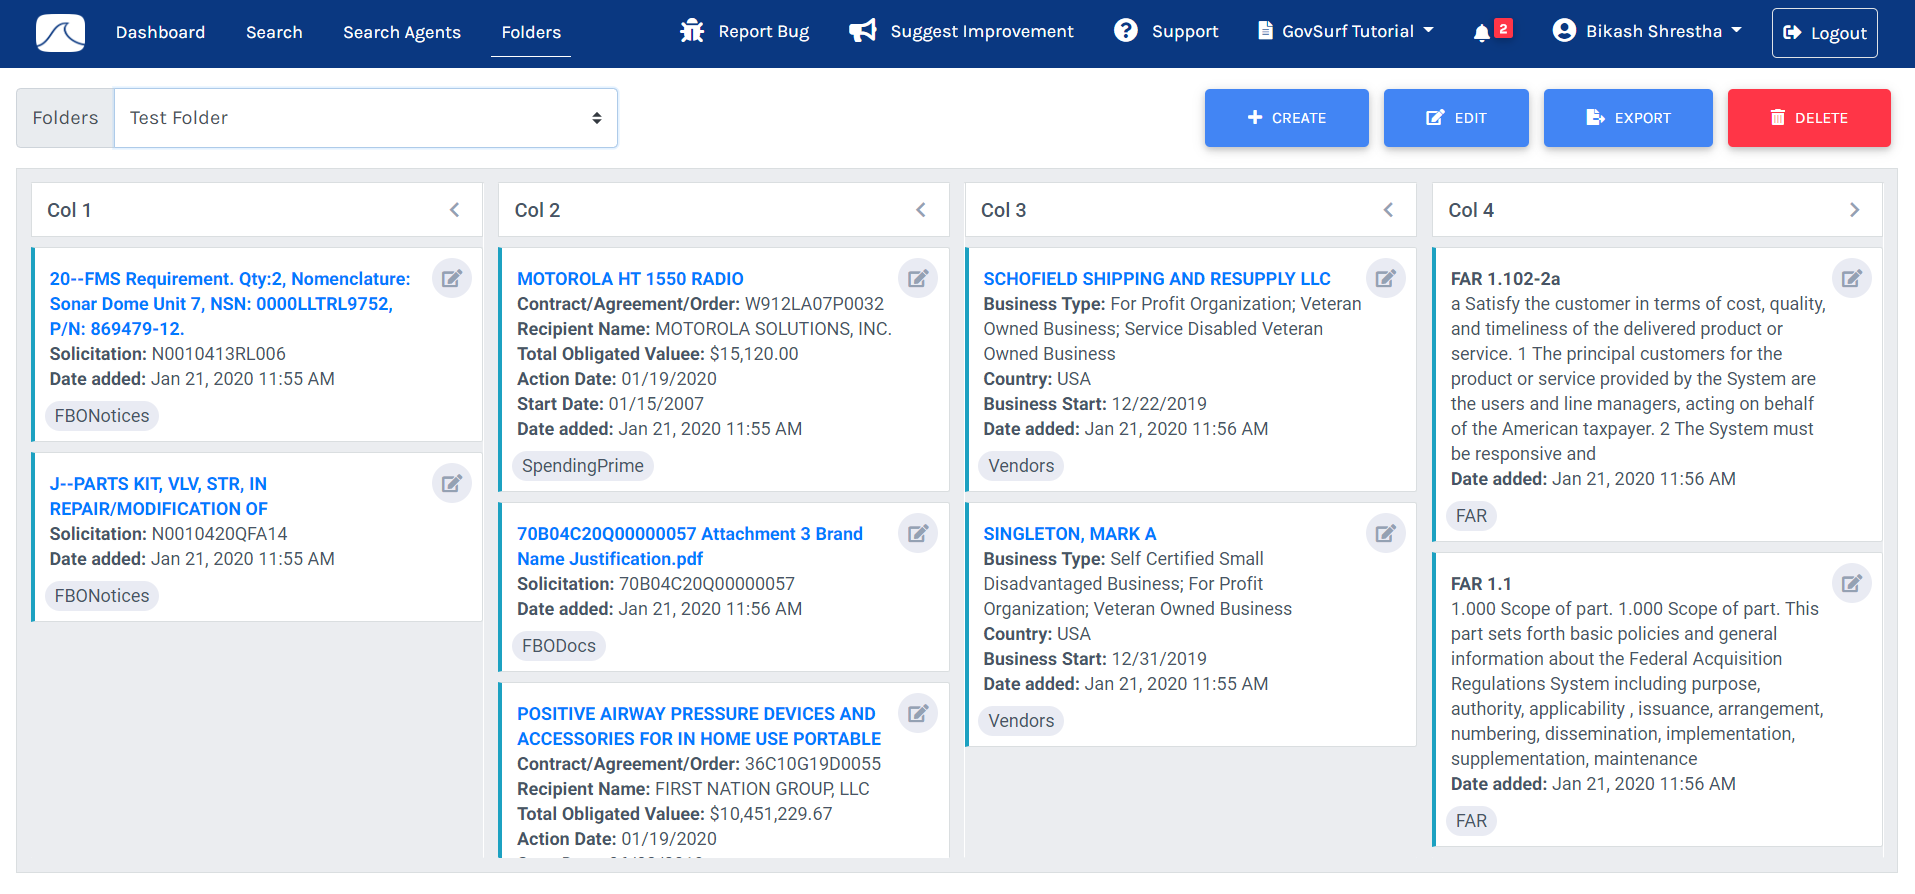
On the top left, there is a Folder dropdown to select your folders. On the top right, there are buttons to create, edit, export and delete the folders. And at the center of the screen is your folder's custom pipeline.
If there’s a Search Agent attached to the folder then, it will look a little different. There will be a "Attached Search Agent" name on top center and "Search Result" column on the left of your custom pipeline. You can simply drag the card from the "Search Result" column to any other column to save to your folders. At the bottom of the screen, there are stats about the number of records listed and the number of total hits for your attached search agent. You can click on the button to see all matching results.
Create a Folder
-
Click on the button. A modal form pops up.
-
Enter a folder name. It must be less than 32 characters.
-
Select available Search Agent to attach to the folder. It is optional. You can attach anytime.
-
Click on the button to add columns to the folder. At least one column is required to create a folder. You can add a maximum of four columns. You can give any name to the columns, but it must be less than 32 characters. The order of columns cannot be changed later so add the column and column name accordingly.
-
Click on the button to create the folder. You will see the folder you created on your screen and a success notification at the bottom right of your screen.

Manage the document status within the Folder
-
You can change the status of saved documents (cards) within the folder by dragging and dropping into the different columns or within the column. You can move cards from left to right without any restriction, however, you cannot skip the columns while moving cards from right to left.
-
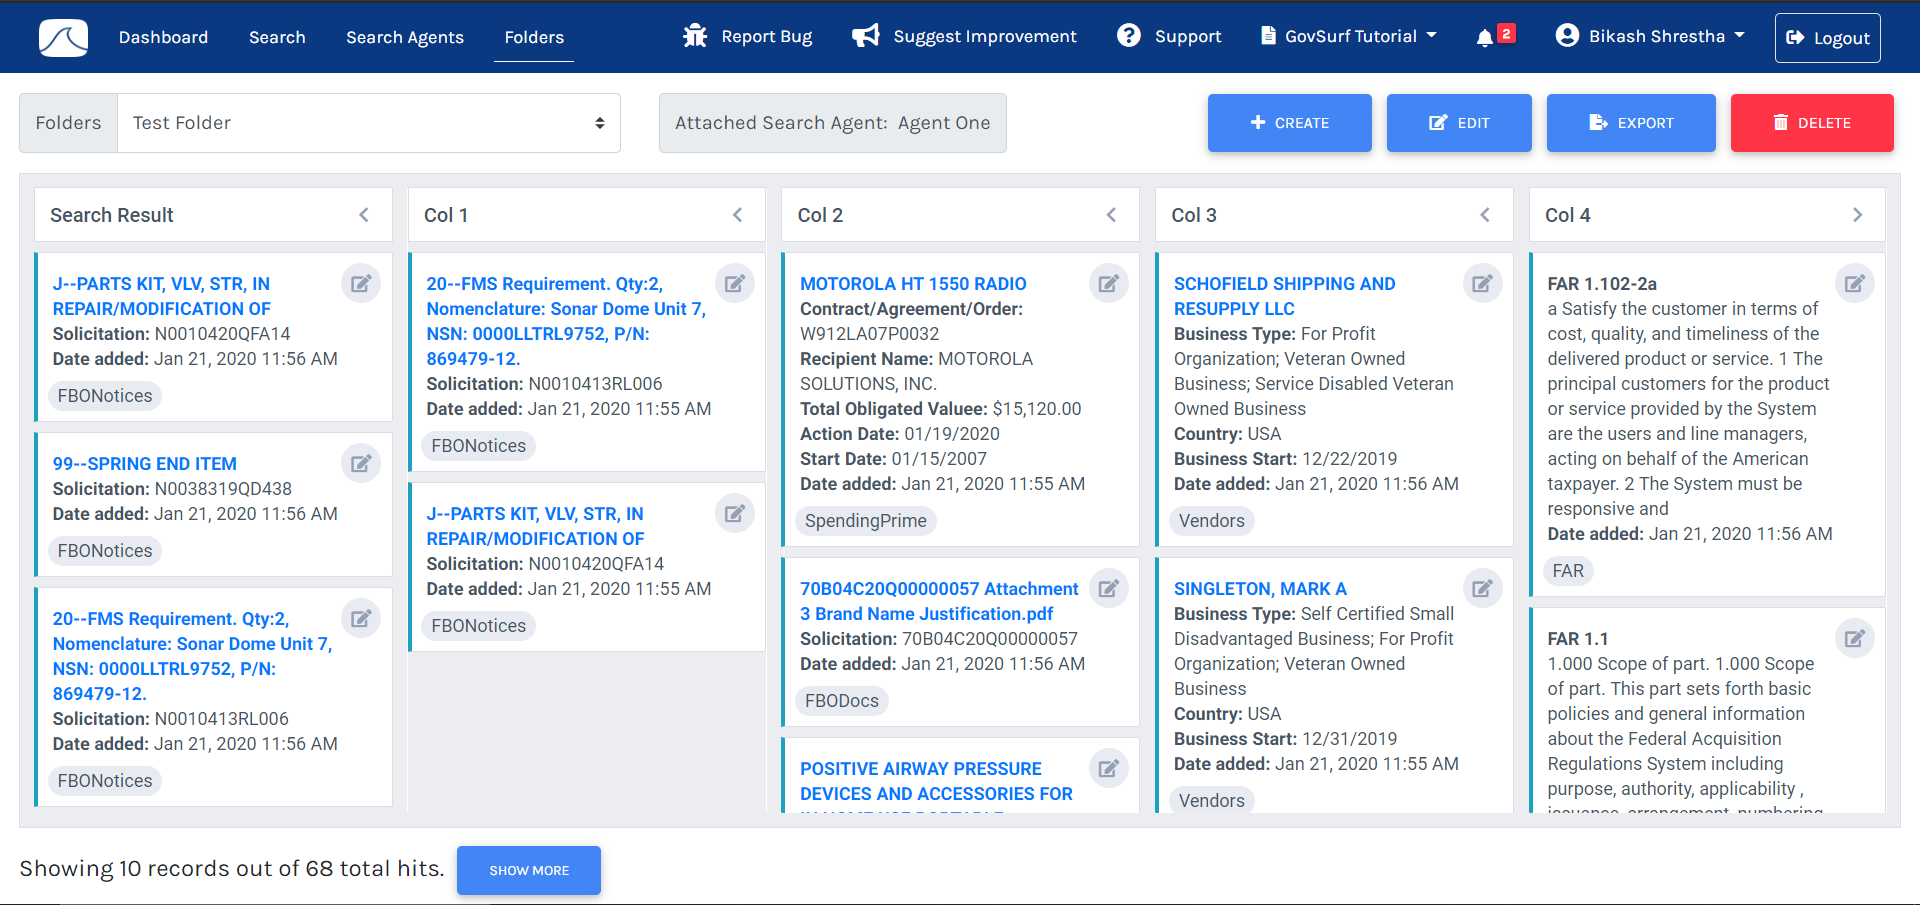
Or, you can click on the icon on the top right of the card to change the status. As you click, a modal form pops up. Select the column status and click the “UPDATE” button to change the status.
Delete the document from the Folder
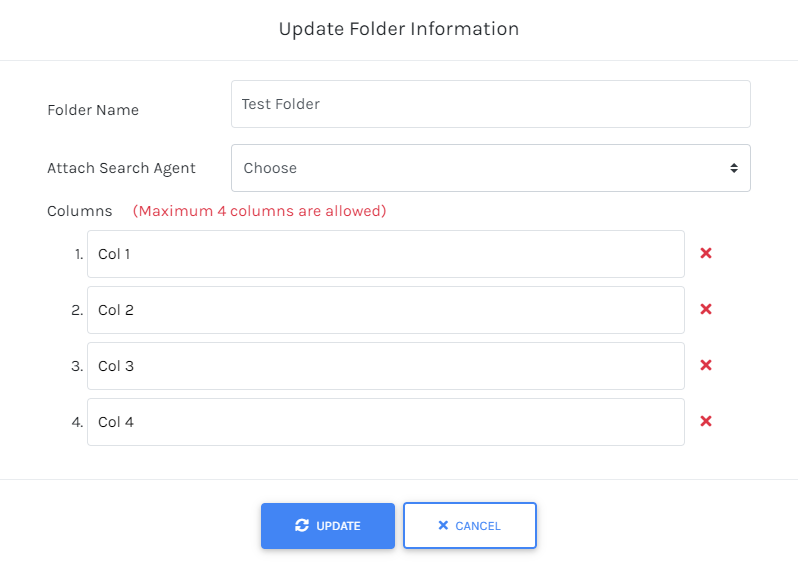
Edit a Folder
-
Select a folder you want to edit/update from folders dropdown.
-
Click the button. A modal form pops up.
-
Make changes you want. You can change the name of the folder, attach agents to the folder or remove the attached agent from the folder, and add/remove the column from the folder or changed their name.
-
Click the button to complete the update/edit. You will see the updated folder and success notification on your screen.
Export a Folder
-
Select a folder you want to export from folders dropdown.
-
Click the button. A PNG file with the folder name will be downloaded on your computer.
Delete a Folder
-
Select a folder you want to delete from folders dropdown.
-
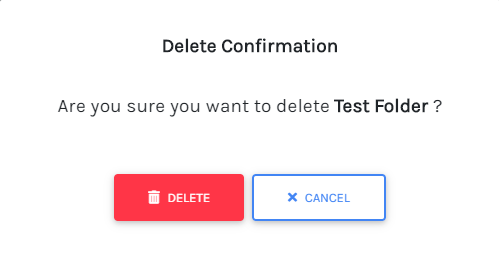
Click the button. A confirmation modal pops up.
-
Click on the button to confirm the delete. Your Folder will be deleted along with all the saved documents on the folder permanently.